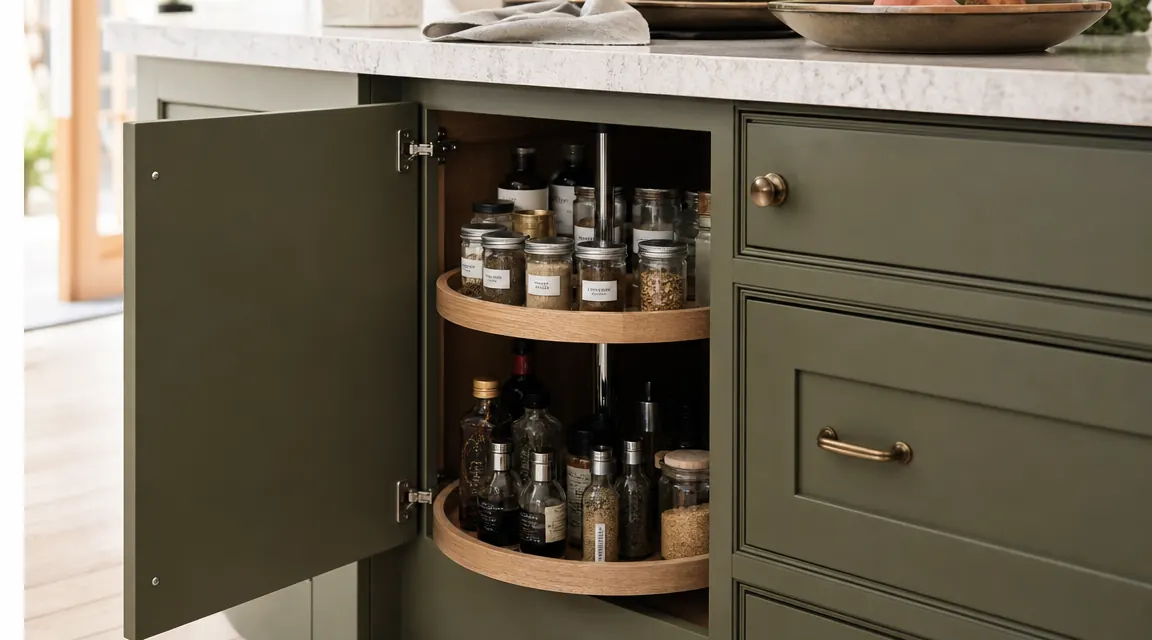
Corner cabinets are where kitchen organization goes to die. The ones above the counter are awkward to reach into. The ones at floor level require you to crouch down, stick your arm in, and hope the thing you want is not behind four other things. I have lived with corner cabinets in three of my five rentals, and in every single one I had the same problem: the back half of the shelf was basically a graveyard for mystery bottles and forgotten cans I kept buying duplicates of because I could never see what I had.
A lazy susan fixes this, but only if you size it correctly, load it intentionally, and do a two-minute maintenance pass every couple of weeks. Get any one of those steps wrong and you will have a spinning pile of chaos instead of a spinning pile of order. I have used the Copco Non-Skid 12-Inch Turntable in two different cabinets now. Here is exactly how I set it up both times, including the measuring mistake I made the first time that cost me a return trip to the cabinet store.
Your corner cabinet is costing you square footage. The Copco turntable fixes that today.
The Copco Non-Skid 12-Inch Turntable has a 4.8-star rating across more than 6,700 reviews. The non-skid base means it stays put, and the smooth-spin mechanism keeps working after months of daily use.
Amazon Check Today's Price on Amazon →Step 1: Empty the Cabinet Completely
Pull everything out. All of it. Do not try to organize around existing clutter, because you will just be spinning clutter instead of spinning organized items. Set everything on the counter or kitchen table. As you pull things out, put expired items directly in the trash and set aside anything that does not actually belong in this cabinet. Most corner cabinets I have cleared had at least two or three things that had migrated in from elsewhere and should go back.
While the cabinet is empty, wipe down the shelf. Corner cabinets collect crumbs and spilled oil because no one reaches back there regularly. A damp cloth and thirty seconds is all it takes. Let it dry before you put anything back. A dry, clean shelf gives the turntable's non-skid base something to grip. If your shelf is slick laminate, a small piece of shelf liner under the turntable adds extra stability, though most people find the Copco's rubber base handles laminate just fine on its own.
Also note what you pulled out. You are about to group it into categories in Step 3, so keep the items visible. Do not shove them in a grocery bag. You need to be able to look at the full inventory and decide what actually needs to live in this cabinet versus what can move somewhere more accessible.
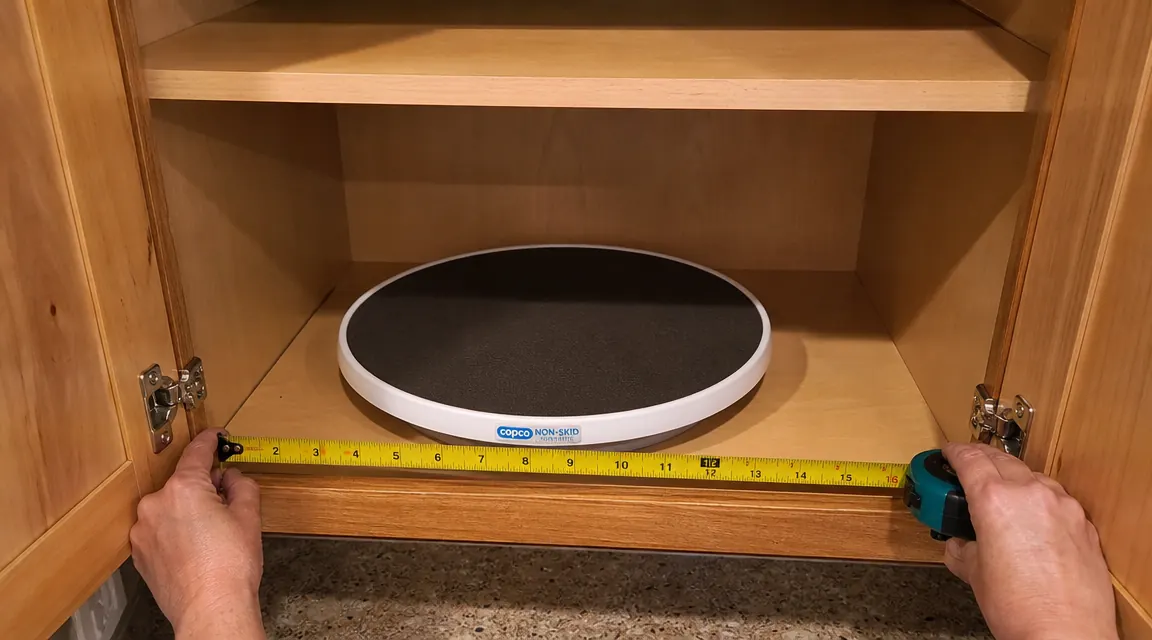
Step 2: Measure for the Right Diameter
This is where most people skip a step and regret it. Cabinet shelves are not all the same depth, and corner cabinets vary more than you would think. The standard Copco 12-inch turntable fits most upper corner cabinets with no problem, but lower corner cabinets and deep pantry shelves sometimes run 18 to 24 inches deep and could handle a larger turntable or two smaller ones stacked or side by side.
Measure the interior width and depth of the shelf before you buy. For a single 12-inch turntable, you need at least 13 inches in each direction, but realistically 14 inches or more gives you room to spin freely without the turntable bumping the cabinet wall. If your corner shelf is L-shaped (two shelves meeting at a corner), you can place a turntable on each shelf independently. One 12-inch unit on each leg of the L is more practical than trying to fit a single large turntable into the corner itself.
I learned this the hard way in my second-floor apartment. The cabinet measured 15 inches deep, which seemed fine for a 12-inch turntable. What I missed was the door hinge on one side trimmed the usable width to about 11 inches. The turntable barely fit and the door scraped the edge every time I opened it. Measure twice, paying attention to hinges, door frames, and any trim that cuts into the interior clearance.
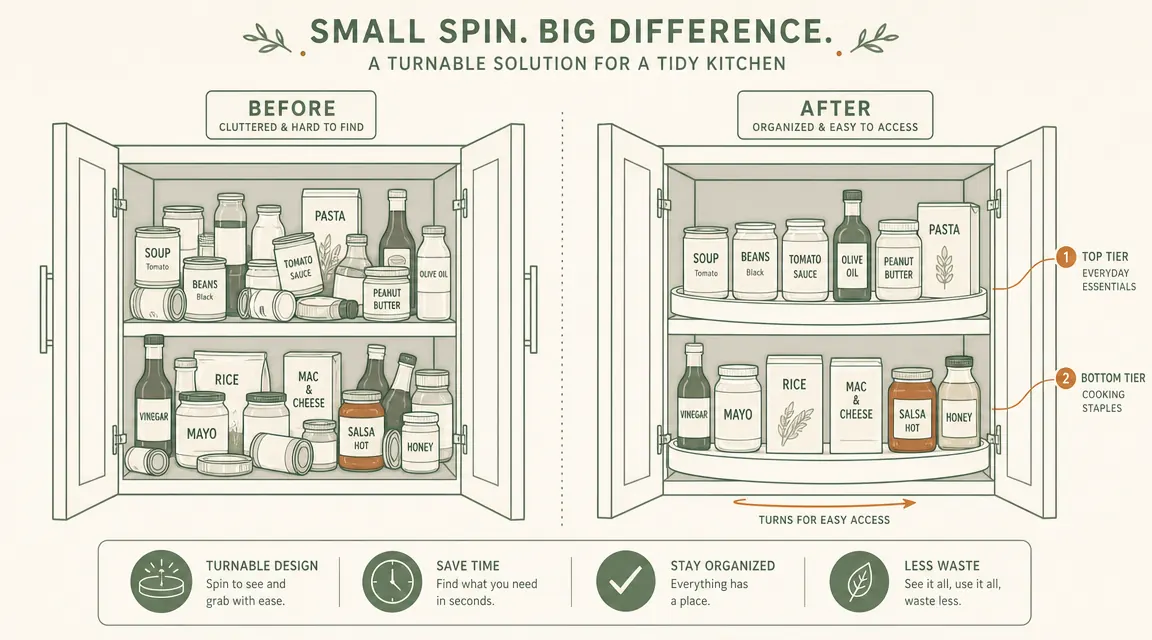
Step 3: Group Your Items by Category Before Loading
Do not put items back randomly and expect the turntable to sort them out. A turntable is a retrieval tool, not a sorting tool. Before you load a single bottle, divide your pulled-out items into logical groups. Common ones for a corner cabinet: cooking oils and vinegars, spices and seasonings, sauces and condiments, canned goods, dry baking supplies. The exact categories depend on what you had in the cabinet.
Once you have the groups, decide which category goes on the turntable versus on the surrounding shelf space. A turntable works best for frequently used items you want to reach quickly. If you only use your cast iron seasoning oil twice a year, that can live in the back corner of the shelf without a turntable. The oils, sauces, and spices you reach for multiple times a week are the ones that benefit most from a spinning base.
If your corner cabinet has two tiers of shelving, put your heaviest items on the lower shelf and use the upper shelf for lighter, taller bottles. The Copco handles a solid load, but common sense applies: a turntable holding four large bottles of olive oil and a cast iron skillet is going to spin sluggishly and could tip a lighter item on top. Keep heavy items low and spread the weight evenly around the turntable rather than loading one side.
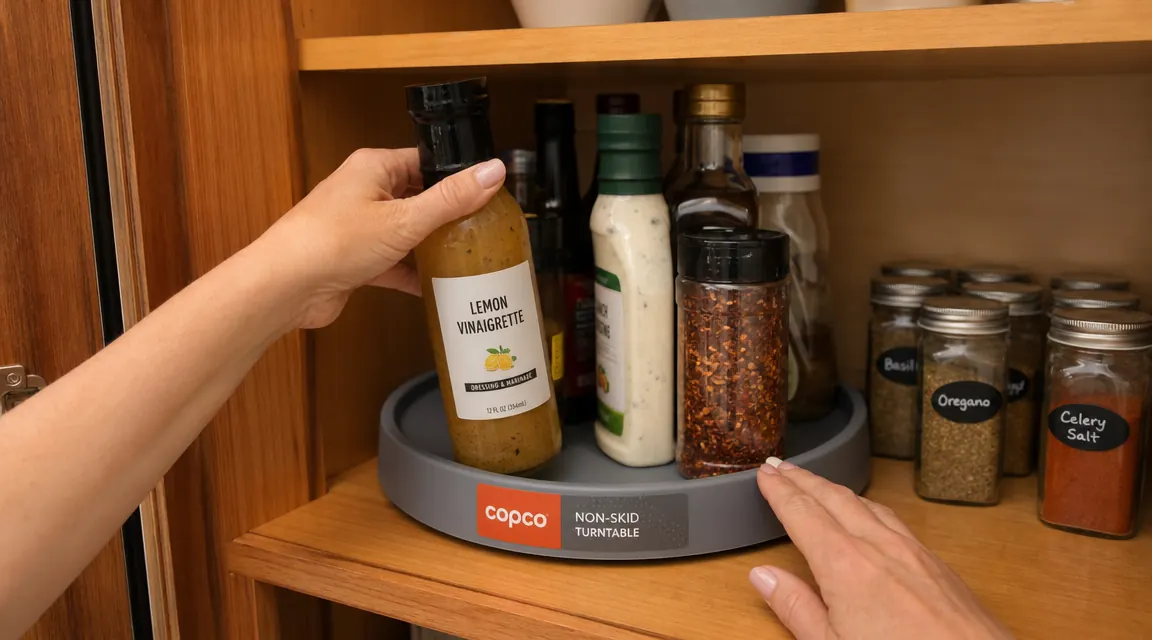
Step 4: Place the Turntable and Load It
Center the turntable on the shelf. Give it a test spin before loading anything. It should rotate smoothly with two fingers and stay put when you stop it. If it slides on the shelf instead of spinning, check that the rubber base is clean and that the shelf surface is dry. The Copco's non-skid base grips most surfaces including wood, laminate, and painted wood shelving. I have never had it slide mid-spin under a normal load.
Load items in a ring around the outer edge first, then fill the center. Tall bottles go on the outer ring so they do not block shorter items behind them. Shorter jars and cans go in the middle. This way, when you spin the turntable, every item is visible at some point in the rotation rather than hidden behind a tall bottle the whole time. Group similar items together in their section of the ring: all the oils on one quarter, all the sauces on another quarter.
Keep labels facing outward on the initial load. It only takes an extra few seconds and it means you can find what you need with one spin instead of picking up each bottle to read the label. After the first week you will know where everything is by position, but labels-out is the right habit to build from day one.
A turntable is a retrieval tool, not a sorting tool. If you load it without grouping first, you are just spinning clutter faster.
Step 5: Maintain the System
Once the turntable is loaded and the cabinet looks good, most people close the door and never think about it again until things start migrating back into chaos. The maintenance piece is simple and fast if you do it consistently. Every two weeks, do a thirty-second check: spin the turntable one full rotation and look for anything that has tipped over, migrated to the wrong section, or is running low and needs replacement. That two-week check prevents the slow drift that turns an organized cabinet back into a cluttered one.
Once a month, pull the turntable out and wipe underneath it. Spills and crumbs collect under the base and if left too long they can get sticky enough to make the turntable drag on the shelf. Thirty seconds with a damp cloth fixes this. Also wipe the turntable base itself, especially the rubber ring on the bottom. The non-skid coating stays grippy longer when it is clean.
If you notice the spin getting stiff, check whether a label has peeled back and is catching on the shelf edge, or whether an item has shifted and is pressing against the cabinet wall. Both happen occasionally with bottles that condensate or with tall items near the outer edge. The fix is always simple once you identify the cause. The Copco's bearing mechanism itself has never failed on me in eight months of daily use.
What Else Helps
A lazy susan handles the rotation and retrieval problem, but it does not solve everything in a corner cabinet. If your cabinet has two shelves, consider a small riser or step shelf on the back wall of the upper shelf so shorter cans do not disappear behind taller bottles. If you are storing a lot of small packets or loose items (seasoning packets, sauce mixes), a small open-top bin sitting on the shelf beside the turntable corrals them without taking up turntable space. The turntable should hold the items you reach for every day. Everything else gets organized around it. For a deeper look at why a lazy susan belongs in more than just corner cabinets, the guide on the ten best spots in your home for a turntable covers placements most people never consider. And if you want to compare the Copco against the other top-rated turntable before buying, the long-term review covers eight months of actual daily use including what finally made me commit to the Copco over the alternatives I tested.
If you have a corner cabinet you avoid opening, a $19 turntable is the fix you have been putting off.
The Copco 12-Inch Non-Skid Turntable is the one I use and the one I recommend to anyone asking about corner cabinet organization. Smooth spin, stays put, easy to wipe clean. Check availability and today's price on Amazon.
Amazon Check Today's Price on Amazon →