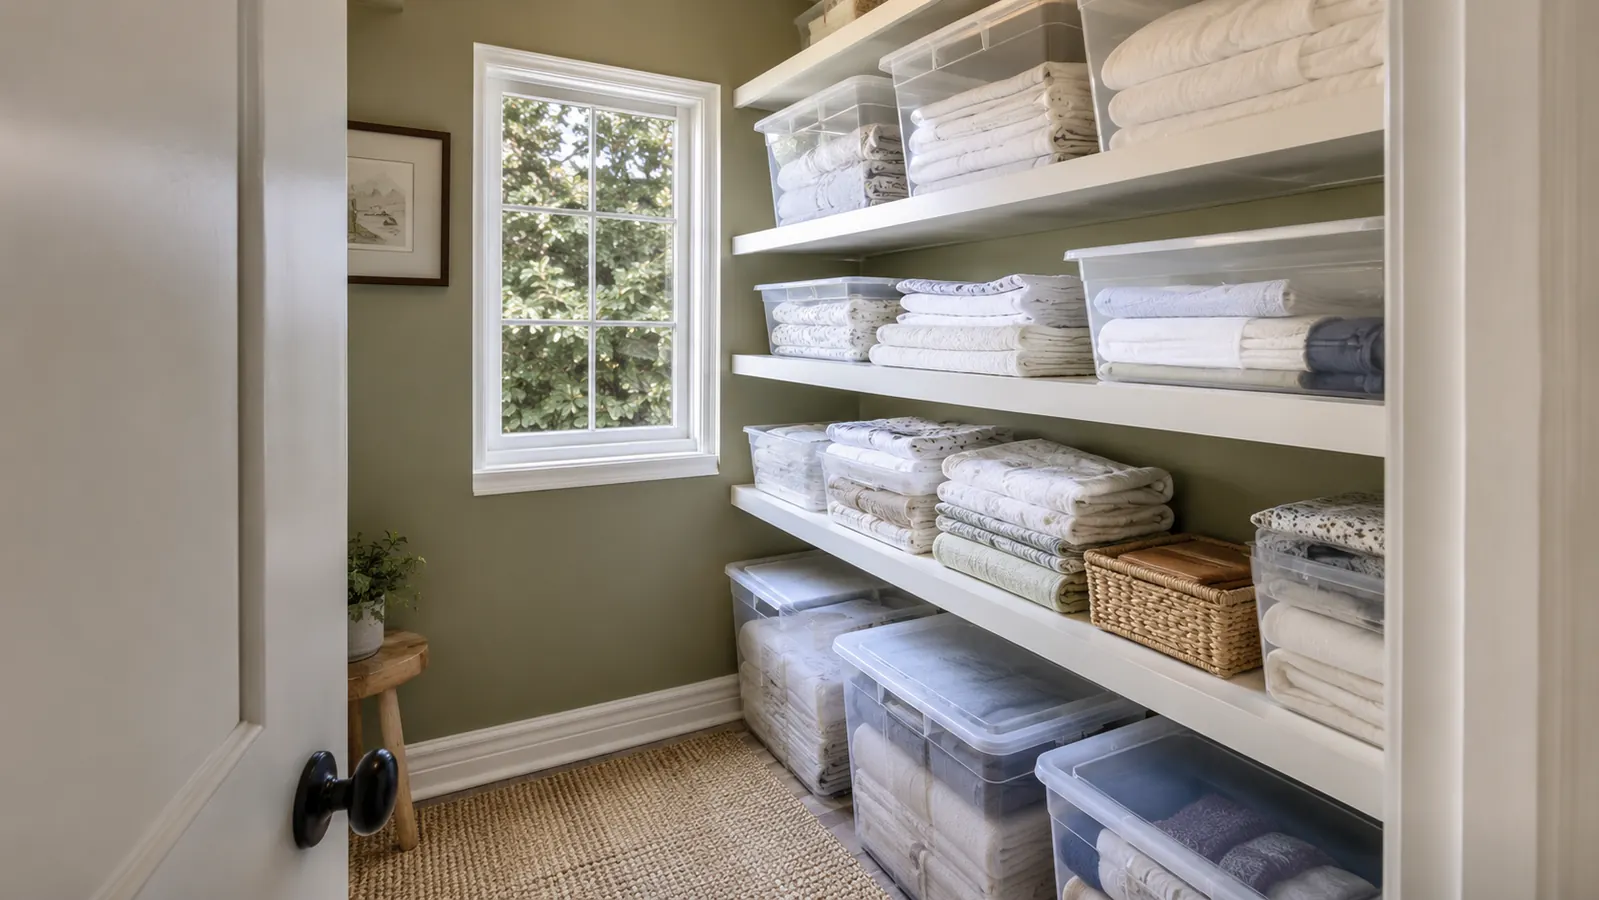
I have organized closets in six different homes, starting with a studio apartment where the only closet was 28 inches wide and served as the bedroom, the linen storage, and the coat rack simultaneously. What I learned across all those spaces is that the closet itself is almost never the problem. The problem is that everything gets shoved in without a container, so nothing has a home, and within two weeks the whole thing looks like a yard sale with the door closed.
Clear stackable bins fix that problem directly. They give every category a physical boundary. You can see what is inside without digging. They stack without toppling. And because they sit on any flat surface without a single screw, they work in every rental I have ever lived in. This guide walks through the exact process I use, from measurement to final load-in, using the Sterilite 6-Quart clear bins that have followed me through three moves at this point.
The bins I use for every closet project, in stock and ships fast
The Sterilite 12-Pack 6-Quart stackable clear bins with snap-on lids. Fourteen thousand reviews, 4.6 stars, and the reason my linen closet finally looks like an adult lives here.
Amazon Check Today's Price on Amazon →Step 1: Empty the Closet Completely and Measure Every Shelf
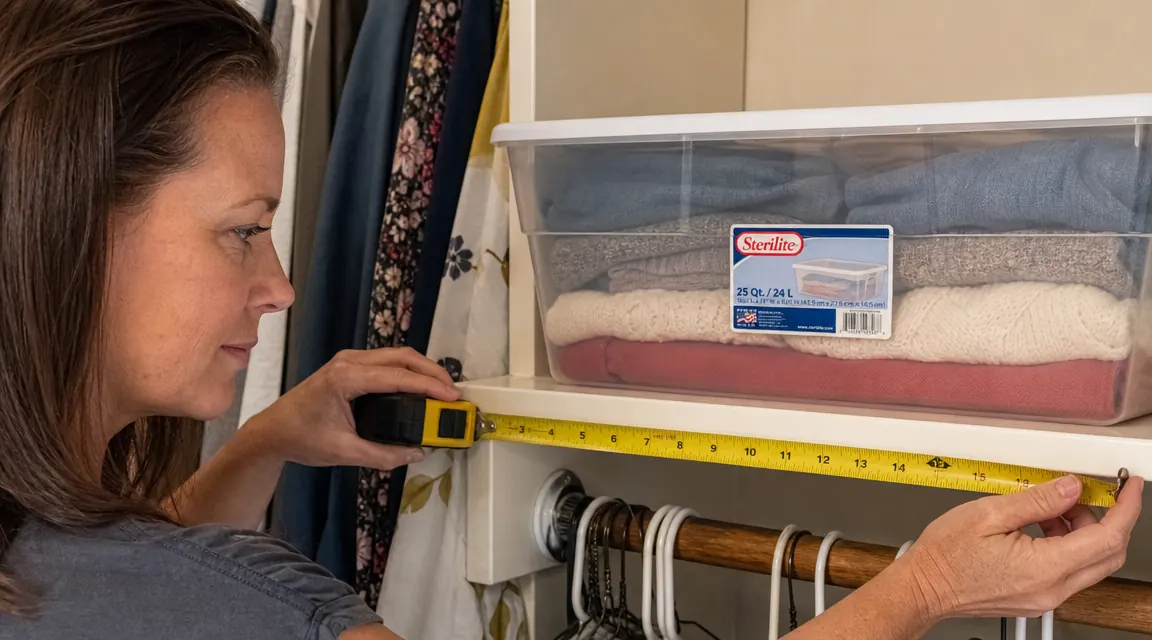
Do not skip the empty step. I know it feels slower, but working around existing stuff means you will stack bins in the wrong spots and move them again in an hour. Pull everything out onto a bed or floor. While the closet is bare, grab a tape measure and write down three numbers for each shelf: depth front-to-back, width left-to-right, and clearance height to the shelf above. These numbers matter more than anything else in this guide.
The Sterilite 6-Quart bins measure 14.5 inches long, 8.2 inches wide, and 4.75 inches tall with the lid on. A stack of two is just under 10 inches tall. A stack of three is about 14.5 inches. If your shelf clearance is 16 inches, you can fit two stacked bins with room to grab the top one easily. If the clearance is 12 inches, one bin per stack is your limit. Write this down before you buy anything.
Also note whether your shelves are wire or solid. Wire shelves are common in rental closets and the bins sit fine on them, but small items can fall through if you are not using the lids. The Sterilite snap-on lids are load-bearing and keep the stack stable, so always use them on wire shelf builds.
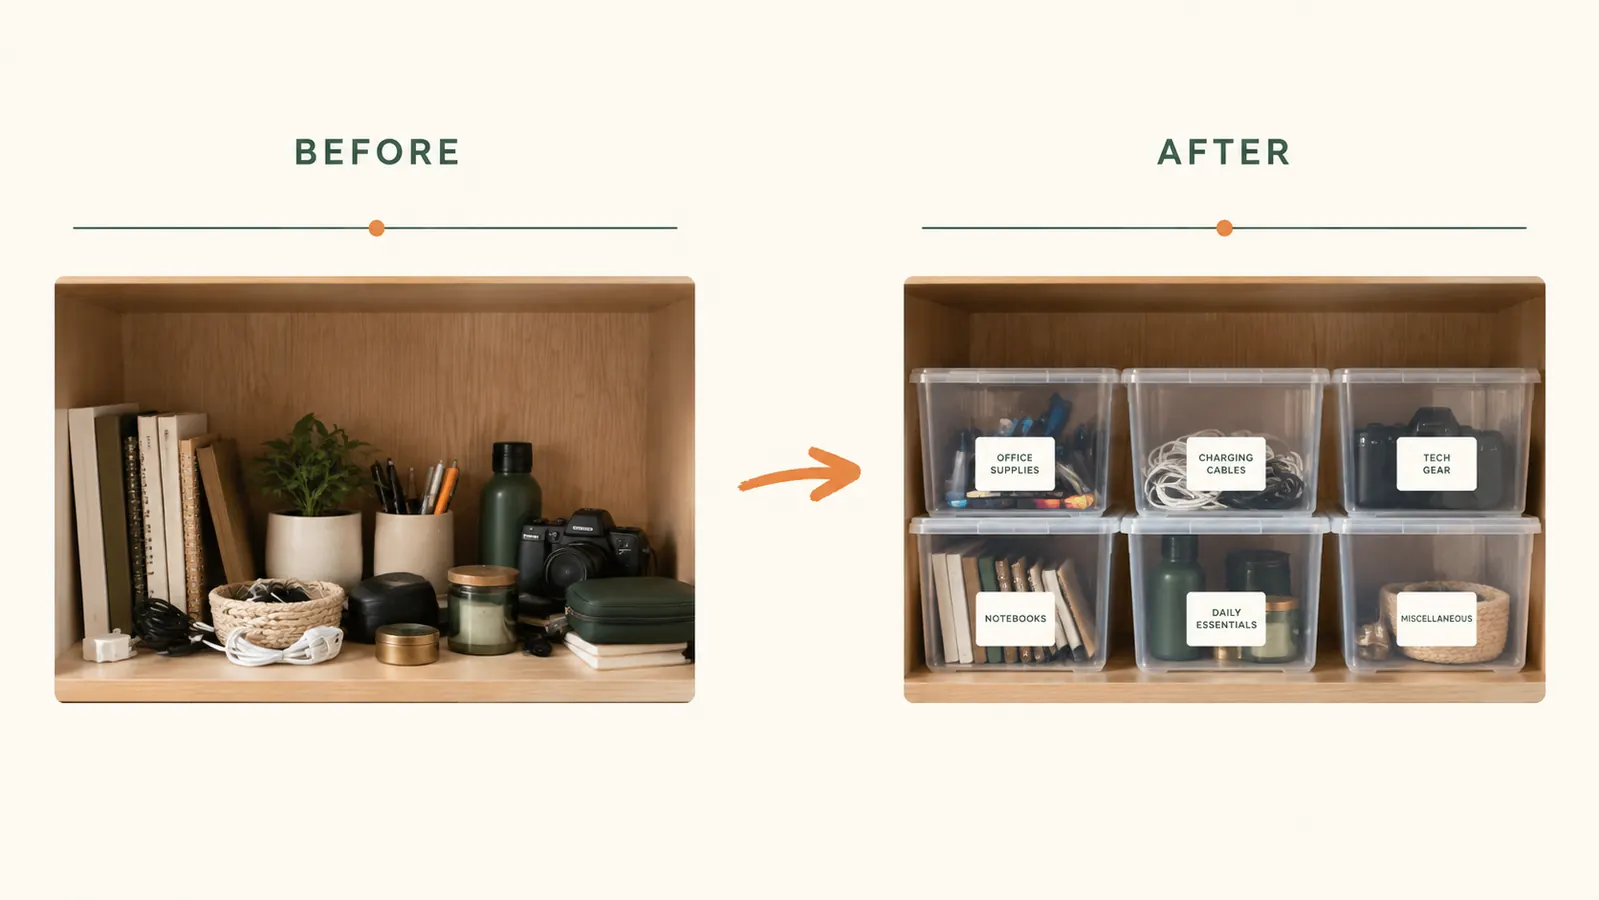
Step 2: Sort Everything Into Categories Before a Single Bin Gets Placed
On the bed or floor, sort everything into piles by category. For a linen closet: sheets by bed size, towels by person or bathroom, medications, first aid, extra toiletries, batteries, lightbulbs, cleaning supplies. For a coat closet: seasonal coats, scarves and gloves, bags and backpacks, shoes, sports gear. For a pantry closet: grains and pastas, canned goods, snacks, baking supplies, condiments, kids' stuff if applicable.
The goal here is not to be precious about it. Pile, count, estimate. Look at each pile and ask: how much space does this actually take up? A full pile of king sheets folds down to about 12 by 8 inches. A pile of mismatched medication bottles takes up maybe 6 inches of space. Eyeball the volume of each pile against a 6-Quart bin. Some categories will need one bin, some will need two, and some small categories can share a bin if they are related.
This step is where most people rush and regret it. I have reorganized other people's closets and the most common complaint is "I bought 24 bins and only needed 8 for this closet." Category sorting before bin placement is how you buy the right count and avoid a second trip.
Step 3: Plan the Layout on Paper Before You Load Anything In
Sketch the shelves on a piece of paper. Nothing fancy, just rectangles with the shelf dimensions you measured. Now assign a bin or bin stack to each zone. Put the most frequently used categories at eye level or just below. Put rarely used categories on the top shelf. Put heavy bins on lower shelves where they are easy to lift down and put back. Put the smallest, lightest categories on the highest shelf.
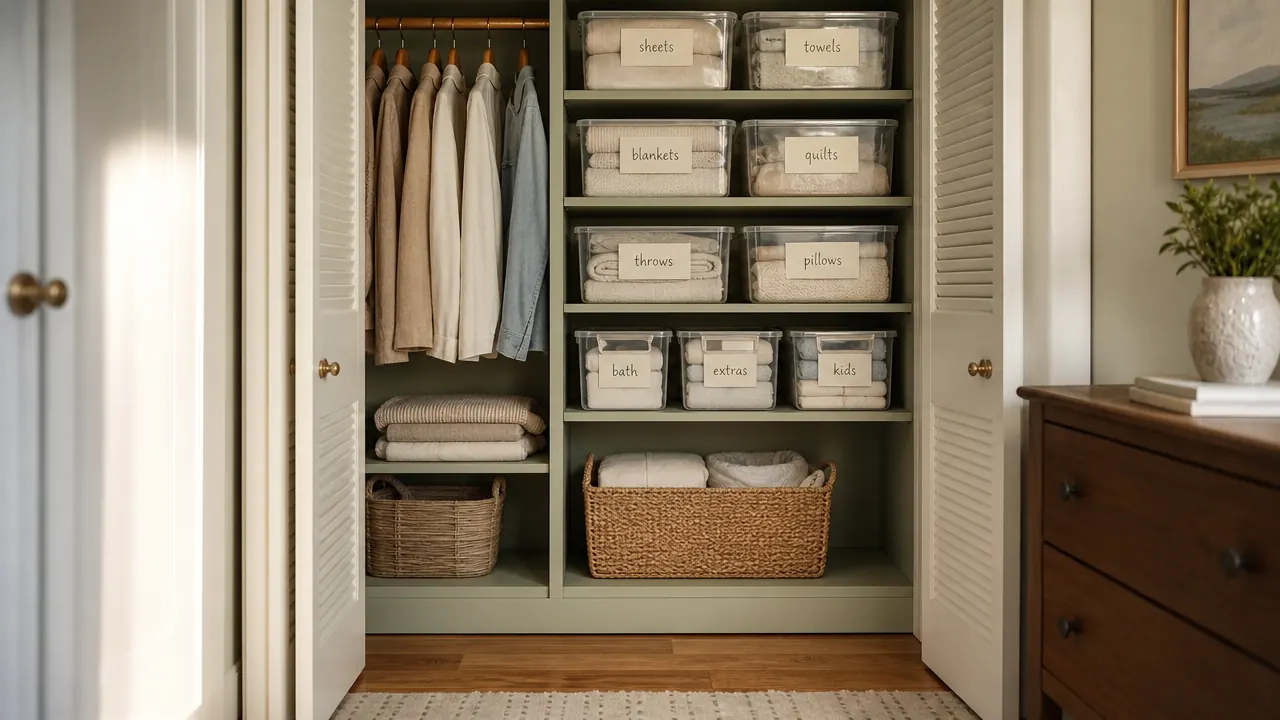
For a standard 24-inch-deep, 48-inch-wide linen closet with four shelves, I typically run two bins wide on the top shelf, three bins wide on the middle shelves, and use the bottom shelf for folded towels in open bins without lids (they ventilate better that way and you grab them constantly). The floor of the closet handles any overflow container or a small basket for loose items that do not fit neatly in a bin.
If you have a shallow rental closet, say 12 inches deep, the Sterilite 6-Quart bin fits in a single row facing out with the long side parallel to the shelf edge. That gives you 14.5 inches of bin depth against 12 inches of shelf, which means the bin will overhang slightly. That is fine for shelves without a front lip. If your shelf has a lip, measure from the back wall to the front of the lip and adjust accordingly.
Step 4: Label Every Bin Before Loading It
I label before loading because once a bin is full of sheets and stacked in the closet, it is a pain to pull it down, write a label, and put it back. Get a roll of white painter's tape and a black marker. Tear a strip about 2 inches long, write the category name in large letters, and stick it to the front face of the bin just below the lid. Painter's tape comes off cleanly and leaves no residue, which matters if you rent and want your security deposit back.
The label should face outward. Sounds obvious, but I have seen people stack bins with labels facing up, inside, or sideways. The whole point of a labeled bin is that you can identify it without moving anything. Consistent orientation, every bin, labels out, is the rule.
Painter's tape and a black marker is the only label system that has survived every move I have made. It peels clean, it writes big, and it takes thirty seconds per bin.
If you want something more permanent, laser-cut acrylic label holders clip onto the outside of most standard bins and look cleaner. But for a first pass or a rental, tape works perfectly and costs nothing extra.
Step 5: Load the Closet, Test the System, and Adjust Once
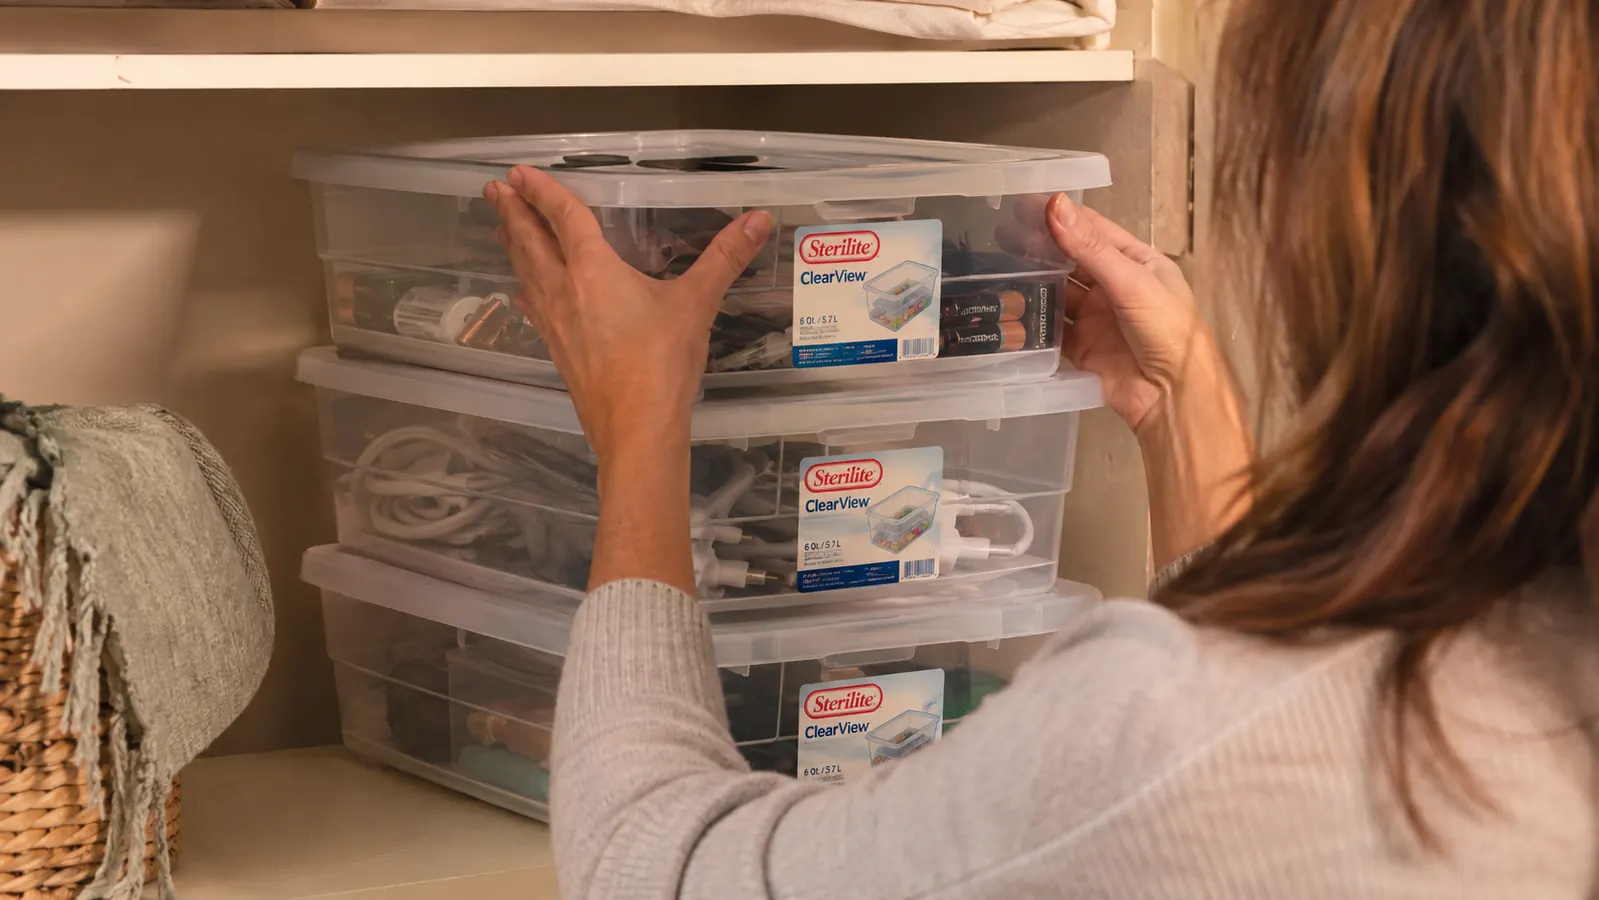
Carry your filled and labeled bins to the closet following the layout you planned. Place heaviest stacks first. As you load each shelf, snap the lid onto the bottom bin before stacking the next one. The Sterilite snap lids create a flat, stable top surface so the next bin sits square. If you are doing three-high stacks, test the stability with a gentle push before calling it done. Three 6-Quart bins stacked with snap lids on a solid shelf is very stable. On a wire shelf, it is also stable but can flex slightly if the shelf itself sags. If a shelf sags, drop to two-high stacks on that particular shelf.
Once everything is in, stand back and actually use the closet for a few minutes. Open bins you would reach for daily. Confirm the heights feel comfortable. Confirm you can see the labels without crouching or standing on tiptoe. Make one round of adjustments now rather than living with an awkward spot for six months. Swap a bin placement, re-label a category that turned out to be two categories, move something heavy to a lower shelf. Then stop adjusting.
The rule I follow is: one adjustment pass on day one, then leave it alone for two weeks. At two weeks you will know what is working and what needs to change based on actual daily use, not on first impressions. The closets that never stay organized are the ones people keep tweaking instead of using.
What Else Helps
A few things pair well with clear bins and genuinely improve the finished result. A small adhesive hook on the inside of the closet door holds a lint roller or a flashlight without taking any shelf space. A battery-powered LED stick light on the underside of the top shelf fixes the common problem of dark lower shelves in a windowless closet. And if you have a closet with inconsistent shelf depths, a piece of non-slip shelf liner on each shelf keeps bins from sliding on smooth painted wood or melamine.
If your closet has no shelves at all and is just a rod and a floor, a free-standing wire shelving unit is the renter-friendly add-on that makes clear bins possible. A standard 5-tier unit in the 24-inch or 36-inch width drops into any closet footprint and costs less than a nice dinner out. The bins then sit on those shelves and the whole unit moves with you at the end of the lease.
For more detail on how these bins specifically perform over time, including which lids hold up and which batch of them I found ran slightly small, read the long-term Sterilite bins review. And if you want a practical list of exactly what to put in each bin for a pantry closet specifically, the 10 pantry problems clear bins solve runs through the common uses I have found actually work in practice.
Ready to run this method today? These are the bins that make it work.
The Sterilite 12-Pack 6-Quart clear bins with snap-on lids. Stackable, see-through, renter-safe, and sold in a 12-pack so you have enough for a full closet build in one order.
Amazon Check Today's Price on Amazon →